Written by the Peptide Trades team from public sources and community testing practice. Not medical advice.
Freeze-drying, also called lyophilization, turns a peptide into a dry solid that keeps far longer than a solution does. Not every freeze-dried vial is made well, though. This guide covers what a sound vial looks like, how a dissolved sample should look on the bench, which warning signs point to a poor batch, and how certificates fit in. Treat a visual check as one extra layer of protection. It does not replace our third-party testing guidance.
Checking the Freeze-Dried Vial
Before a vial is ever opened, the solid inside already tells you a fair amount. Look at the cake, sometimes called a puck, and judge its colour, its texture and how dry it seems.
Signs of a Good Product
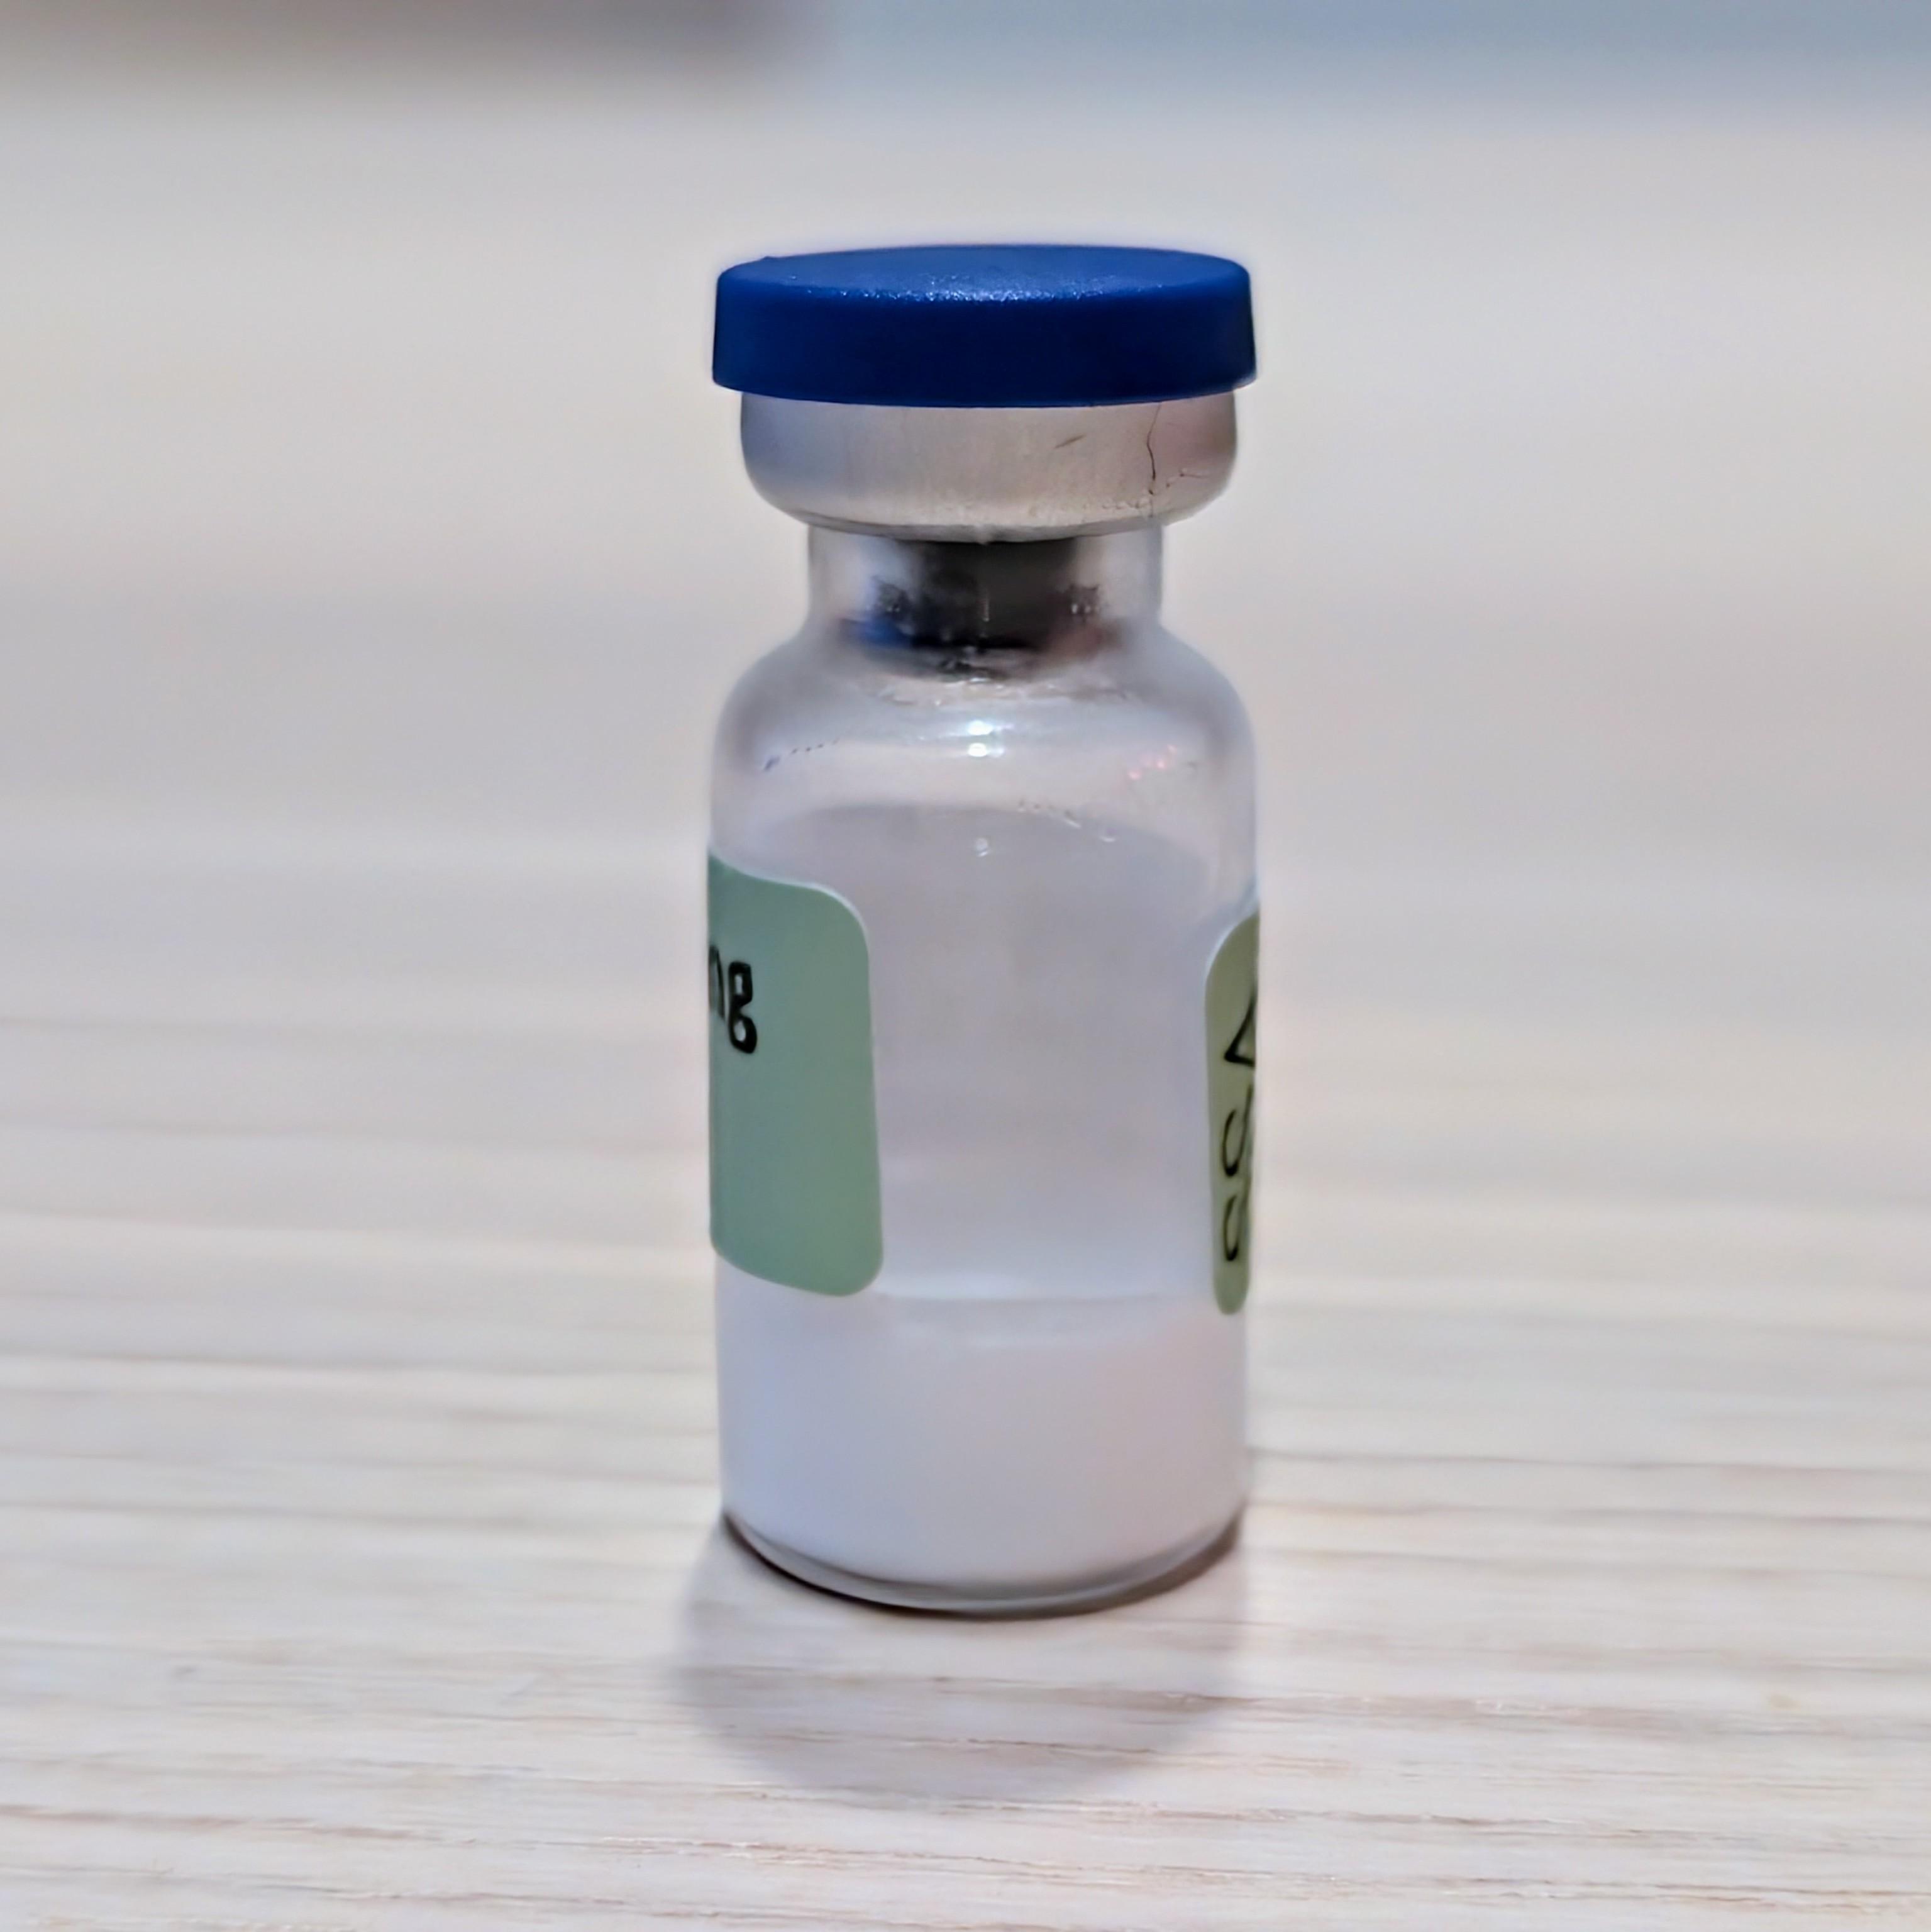
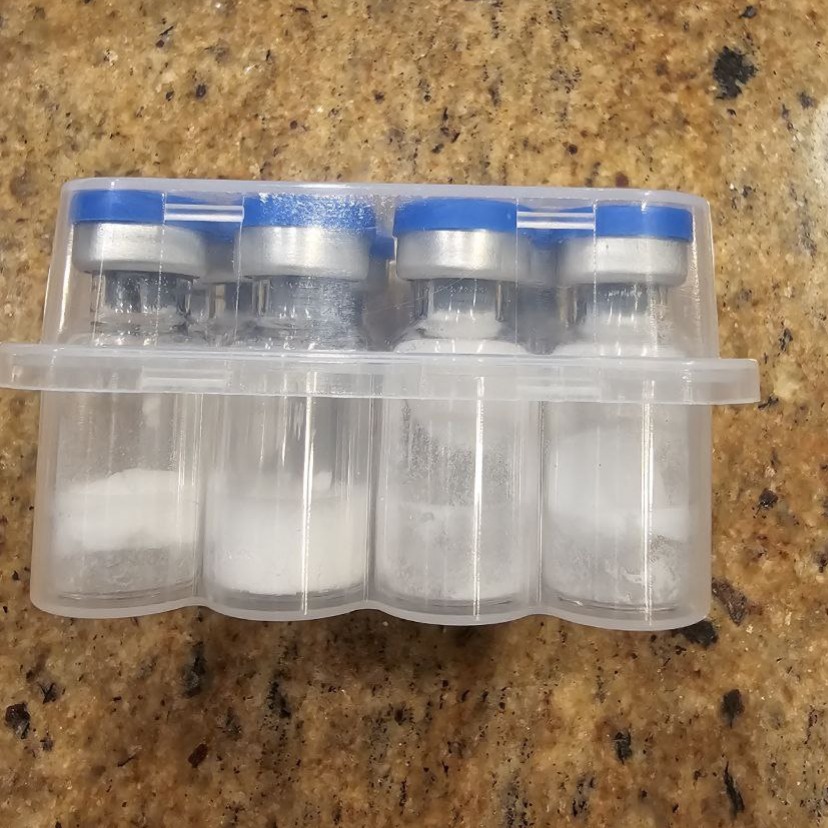
- Even appearance: A well-made cake is white and powdery, and it has the same look and feel all the way through. There should be no large crystals and no patches of colour. A cracked or crumbled puck is not a warning sign by itself, since pucks often break up in transit.
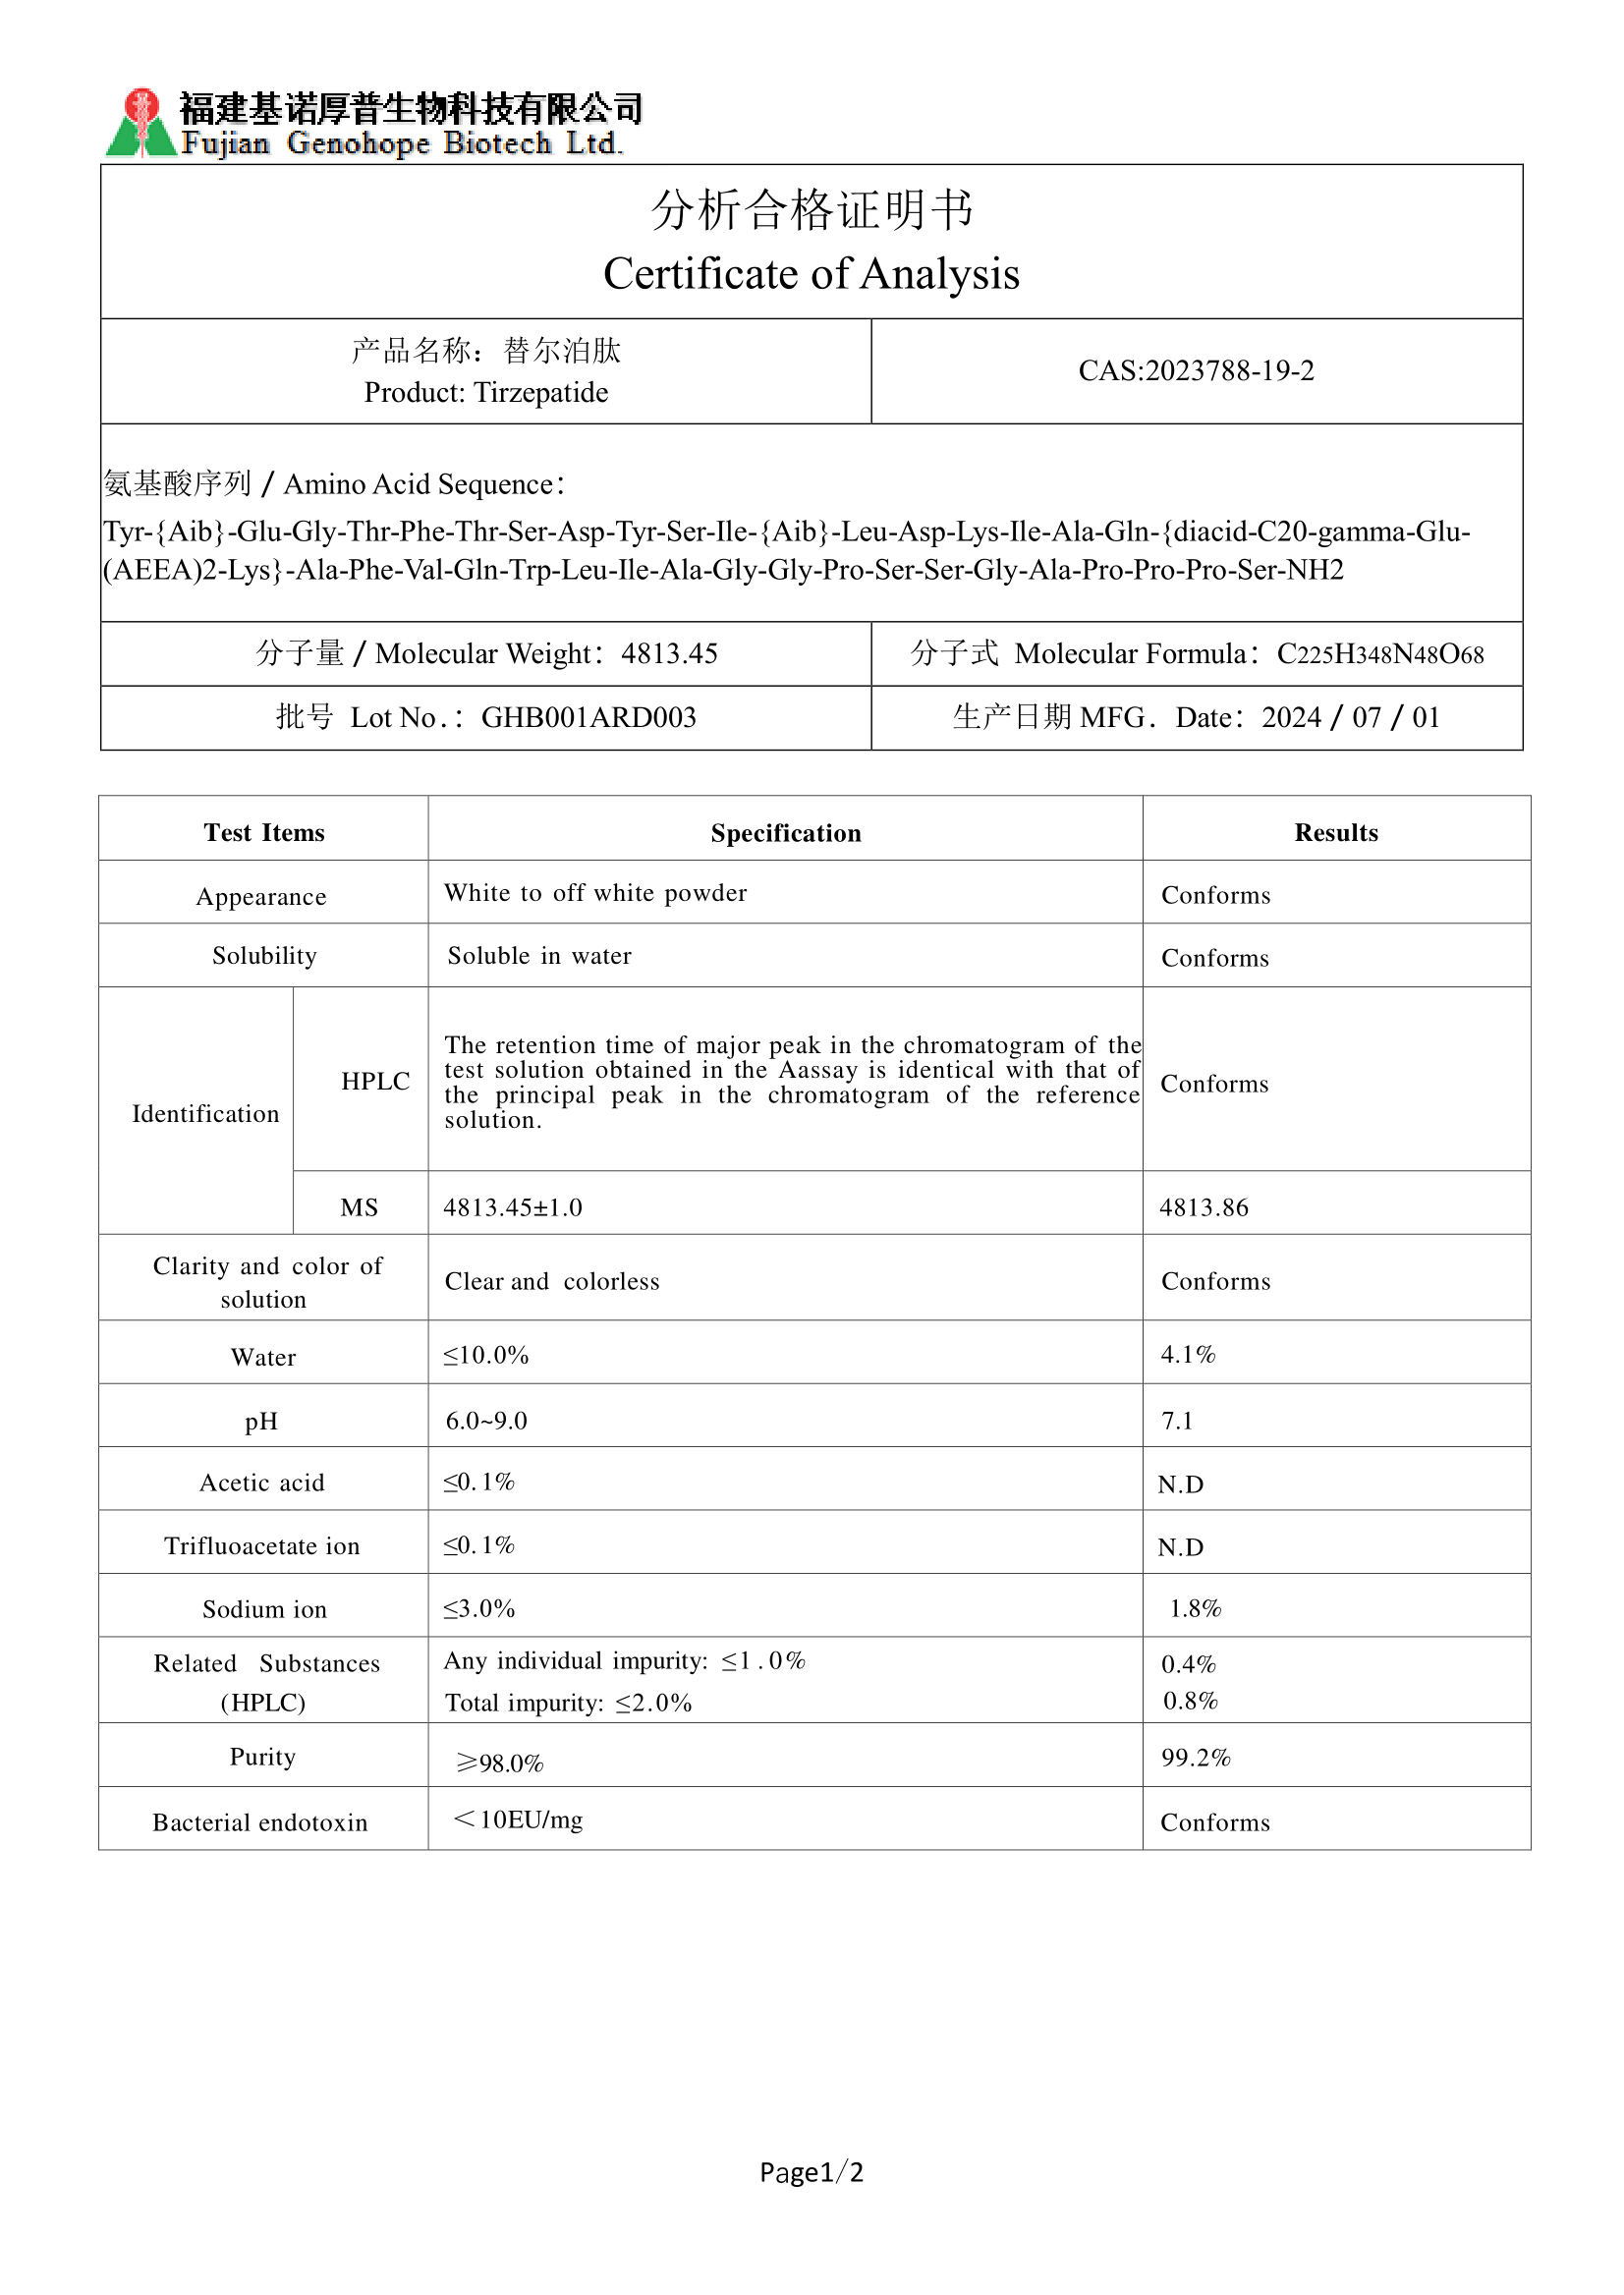
- Dry to the eye: The solid should look fully dry, with no visible crystals. Freeze-dried peptides are generally expected to hold less than 3% water (source), although few buyers can measure this directly. For tirzepatide raw material, the linked certificate example allows more, with a ceiling of under 10% water (source).
Signs of a Bad Product
- Colour change or specks: Yellow or brown tints, or any foreign particles, suggest the material may have degraded or picked up contamination. A few products are coloured on purpose. Glow blend, for example, is meant to be blue. Outside cases like that, discard the vial.
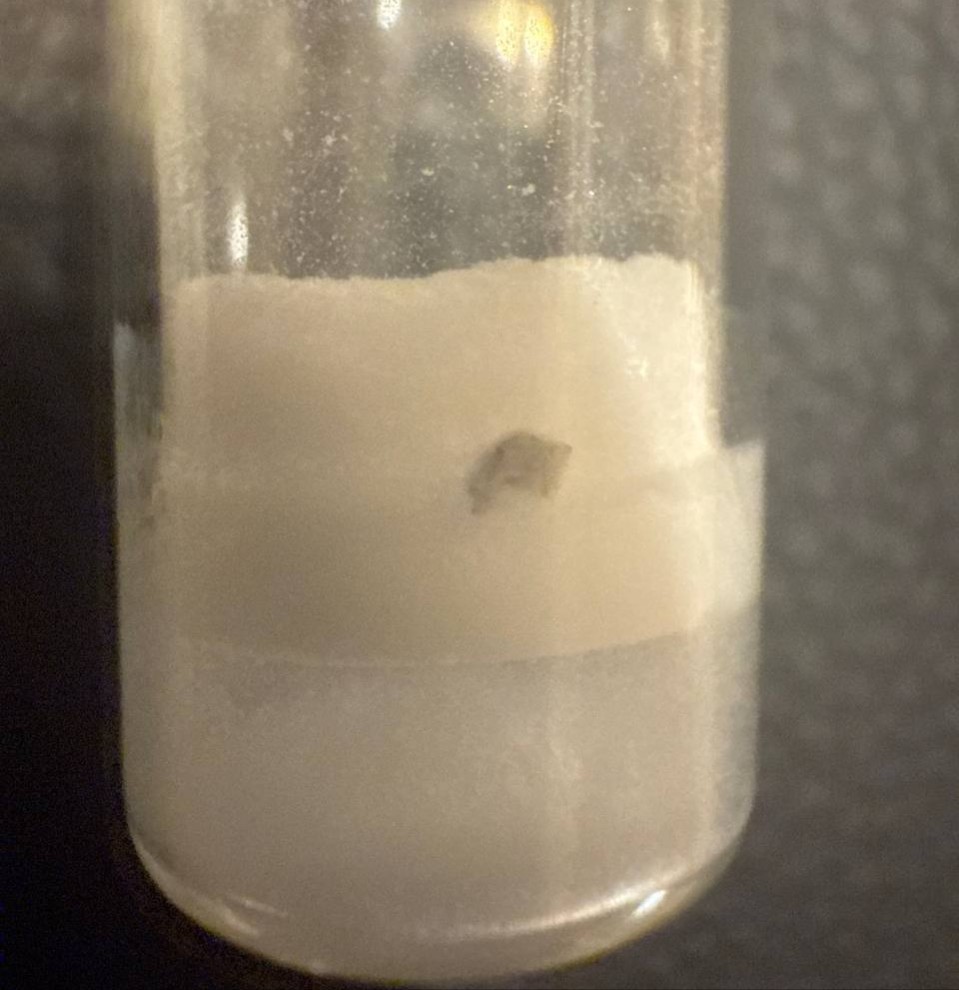
- Damp or sticky solid: A good cake never looks wet. Watch for a sticky, clumped or thick granular layer clinging to the glass. Extra moisture makes the peptide break down faster. Discard the vial.
Checking a Dissolved Sample
Labs often dissolve a sample for analysis or for an assay. At that point, the look of the liquid gives you a second quality signal.
Signs of Good Dissolution
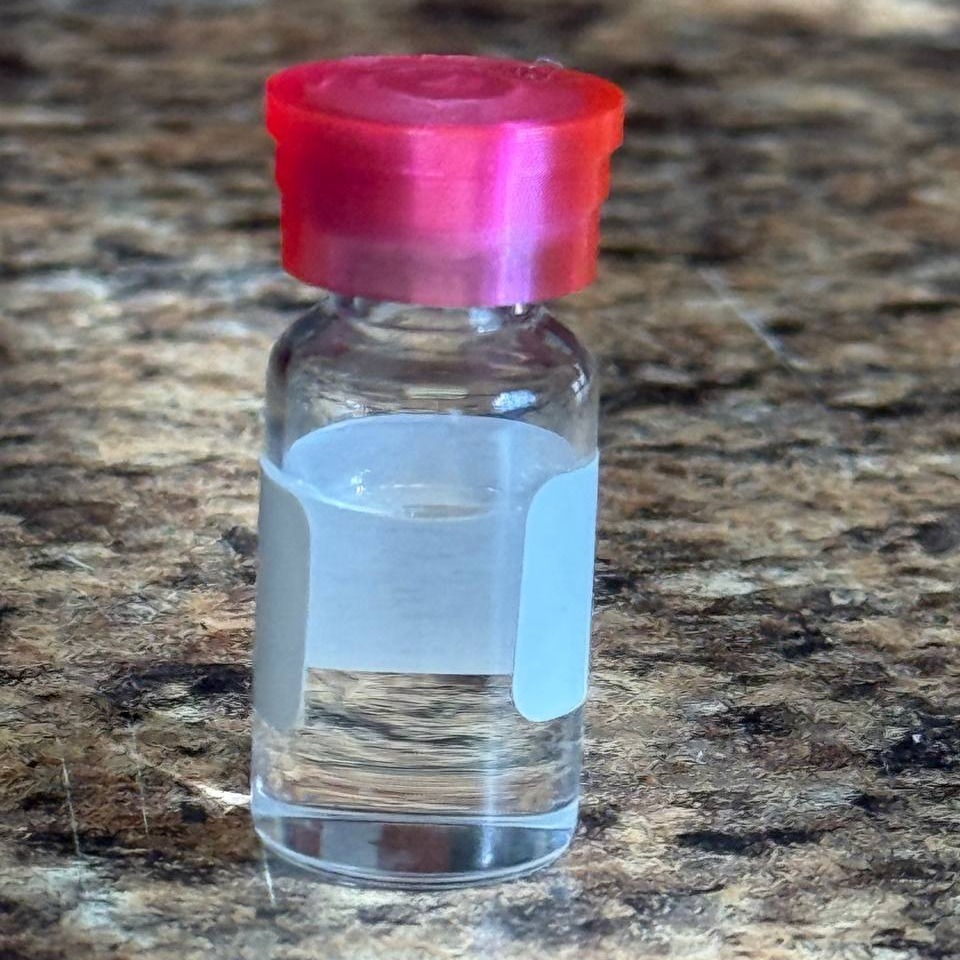
- Clear, colourless liquid: A peptide that has gone fully into solution gives a liquid with no colour, no haze and no floating specks. That points to complete dissolving and no visible contamination.
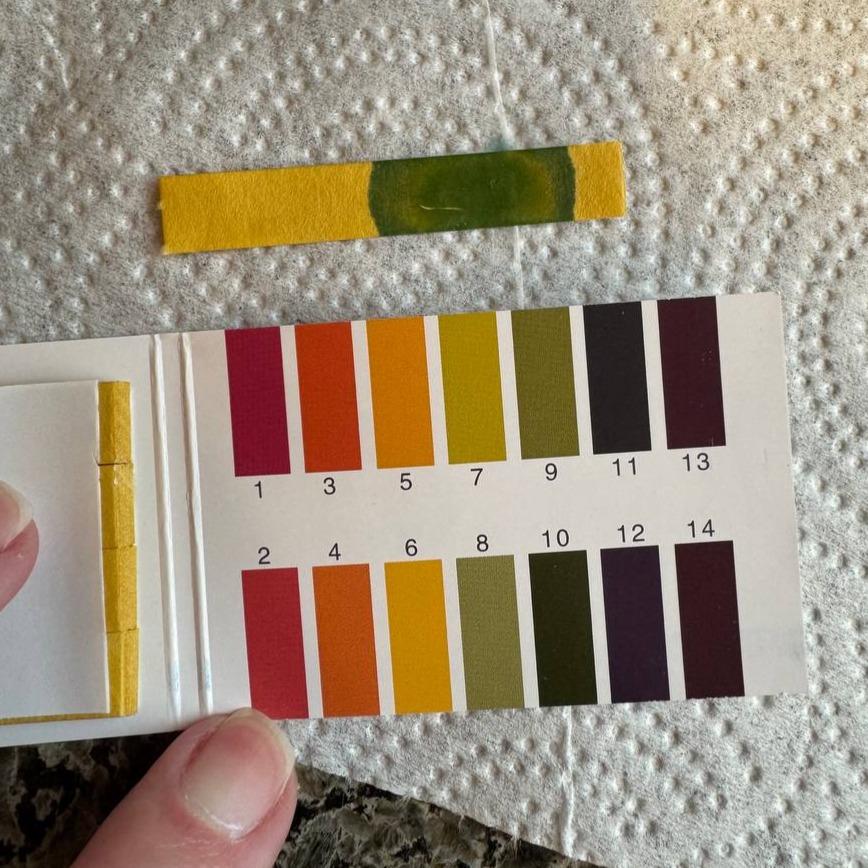
- pH inside the specification: Each peptide has its own pH range for a stable solution. For GLP-1 research materials such as tirzepatide and retatrutide, that range is typically pH 6 to 9. The linked certificate shows an example specification (source). A pH strip or meter will confirm where your sample sits.
Signs of Poor Dissolution
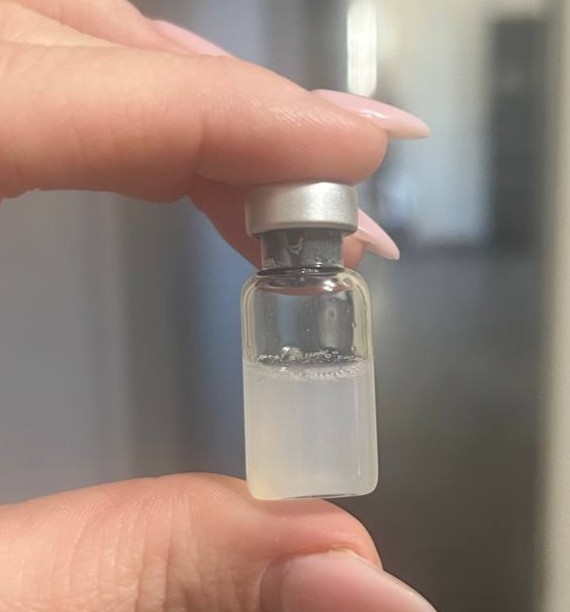
- Haze, colour or floating particles: A cloudy or tinted liquid, or one with particles drifting in it, means the peptide has not fully dissolved or carries impurities. Poor manufacturing or a damaged batch can both cause this. If solid material is still visible after 30 minutes, discard it.
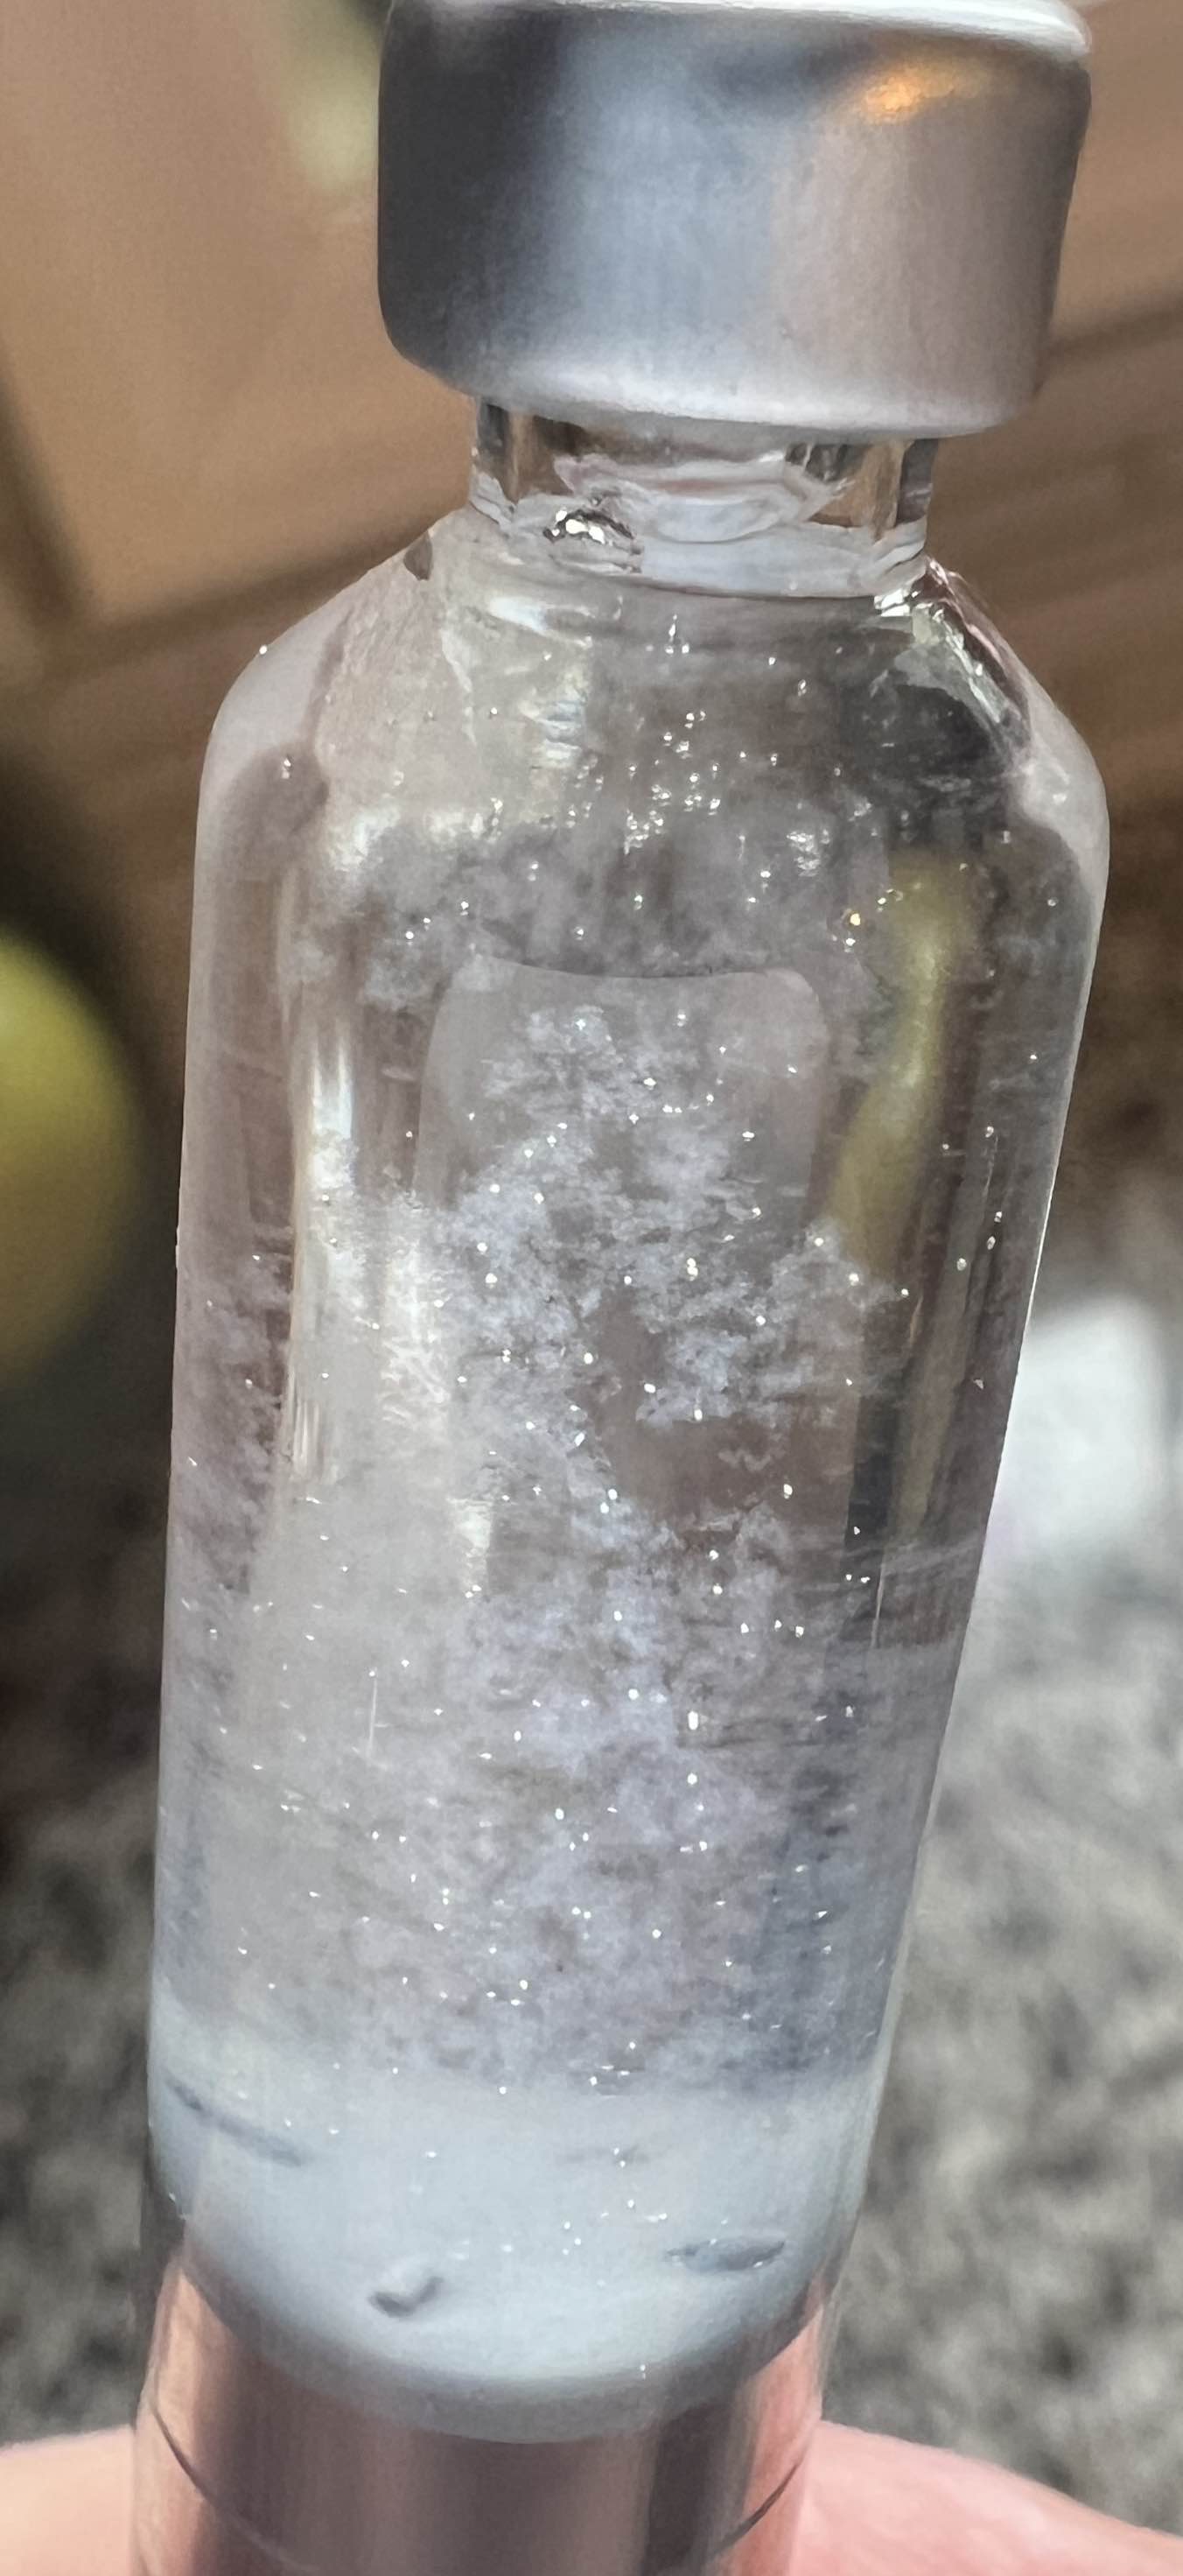
- Gel or precipitate: When a solution turns to gel, the peptide’s secondary structure has most likely changed. This is known as aggregation. Aggregated material may no longer interact with receptors in the expected way, as the risks section below explains. Discard it.
- pH far from the stated range: A reading well away from the range the maker specifies is a sign that something went wrong in production or formulation. Treat the batch as suspect.
Risks of Working With a Poor Product
Material that was badly made or badly stored causes several kinds of problem in the lab (source):
- Unreliable results: Structural change, such as aggregation, and chemical breakdown, such as deamidation (often seen as a lower HPLC purity figure), both alter how a peptide behaves. An altered peptide may bind the wrong receptors, set off processes it should not, or do nothing at all. Any of these makes your data hard to trust (source).
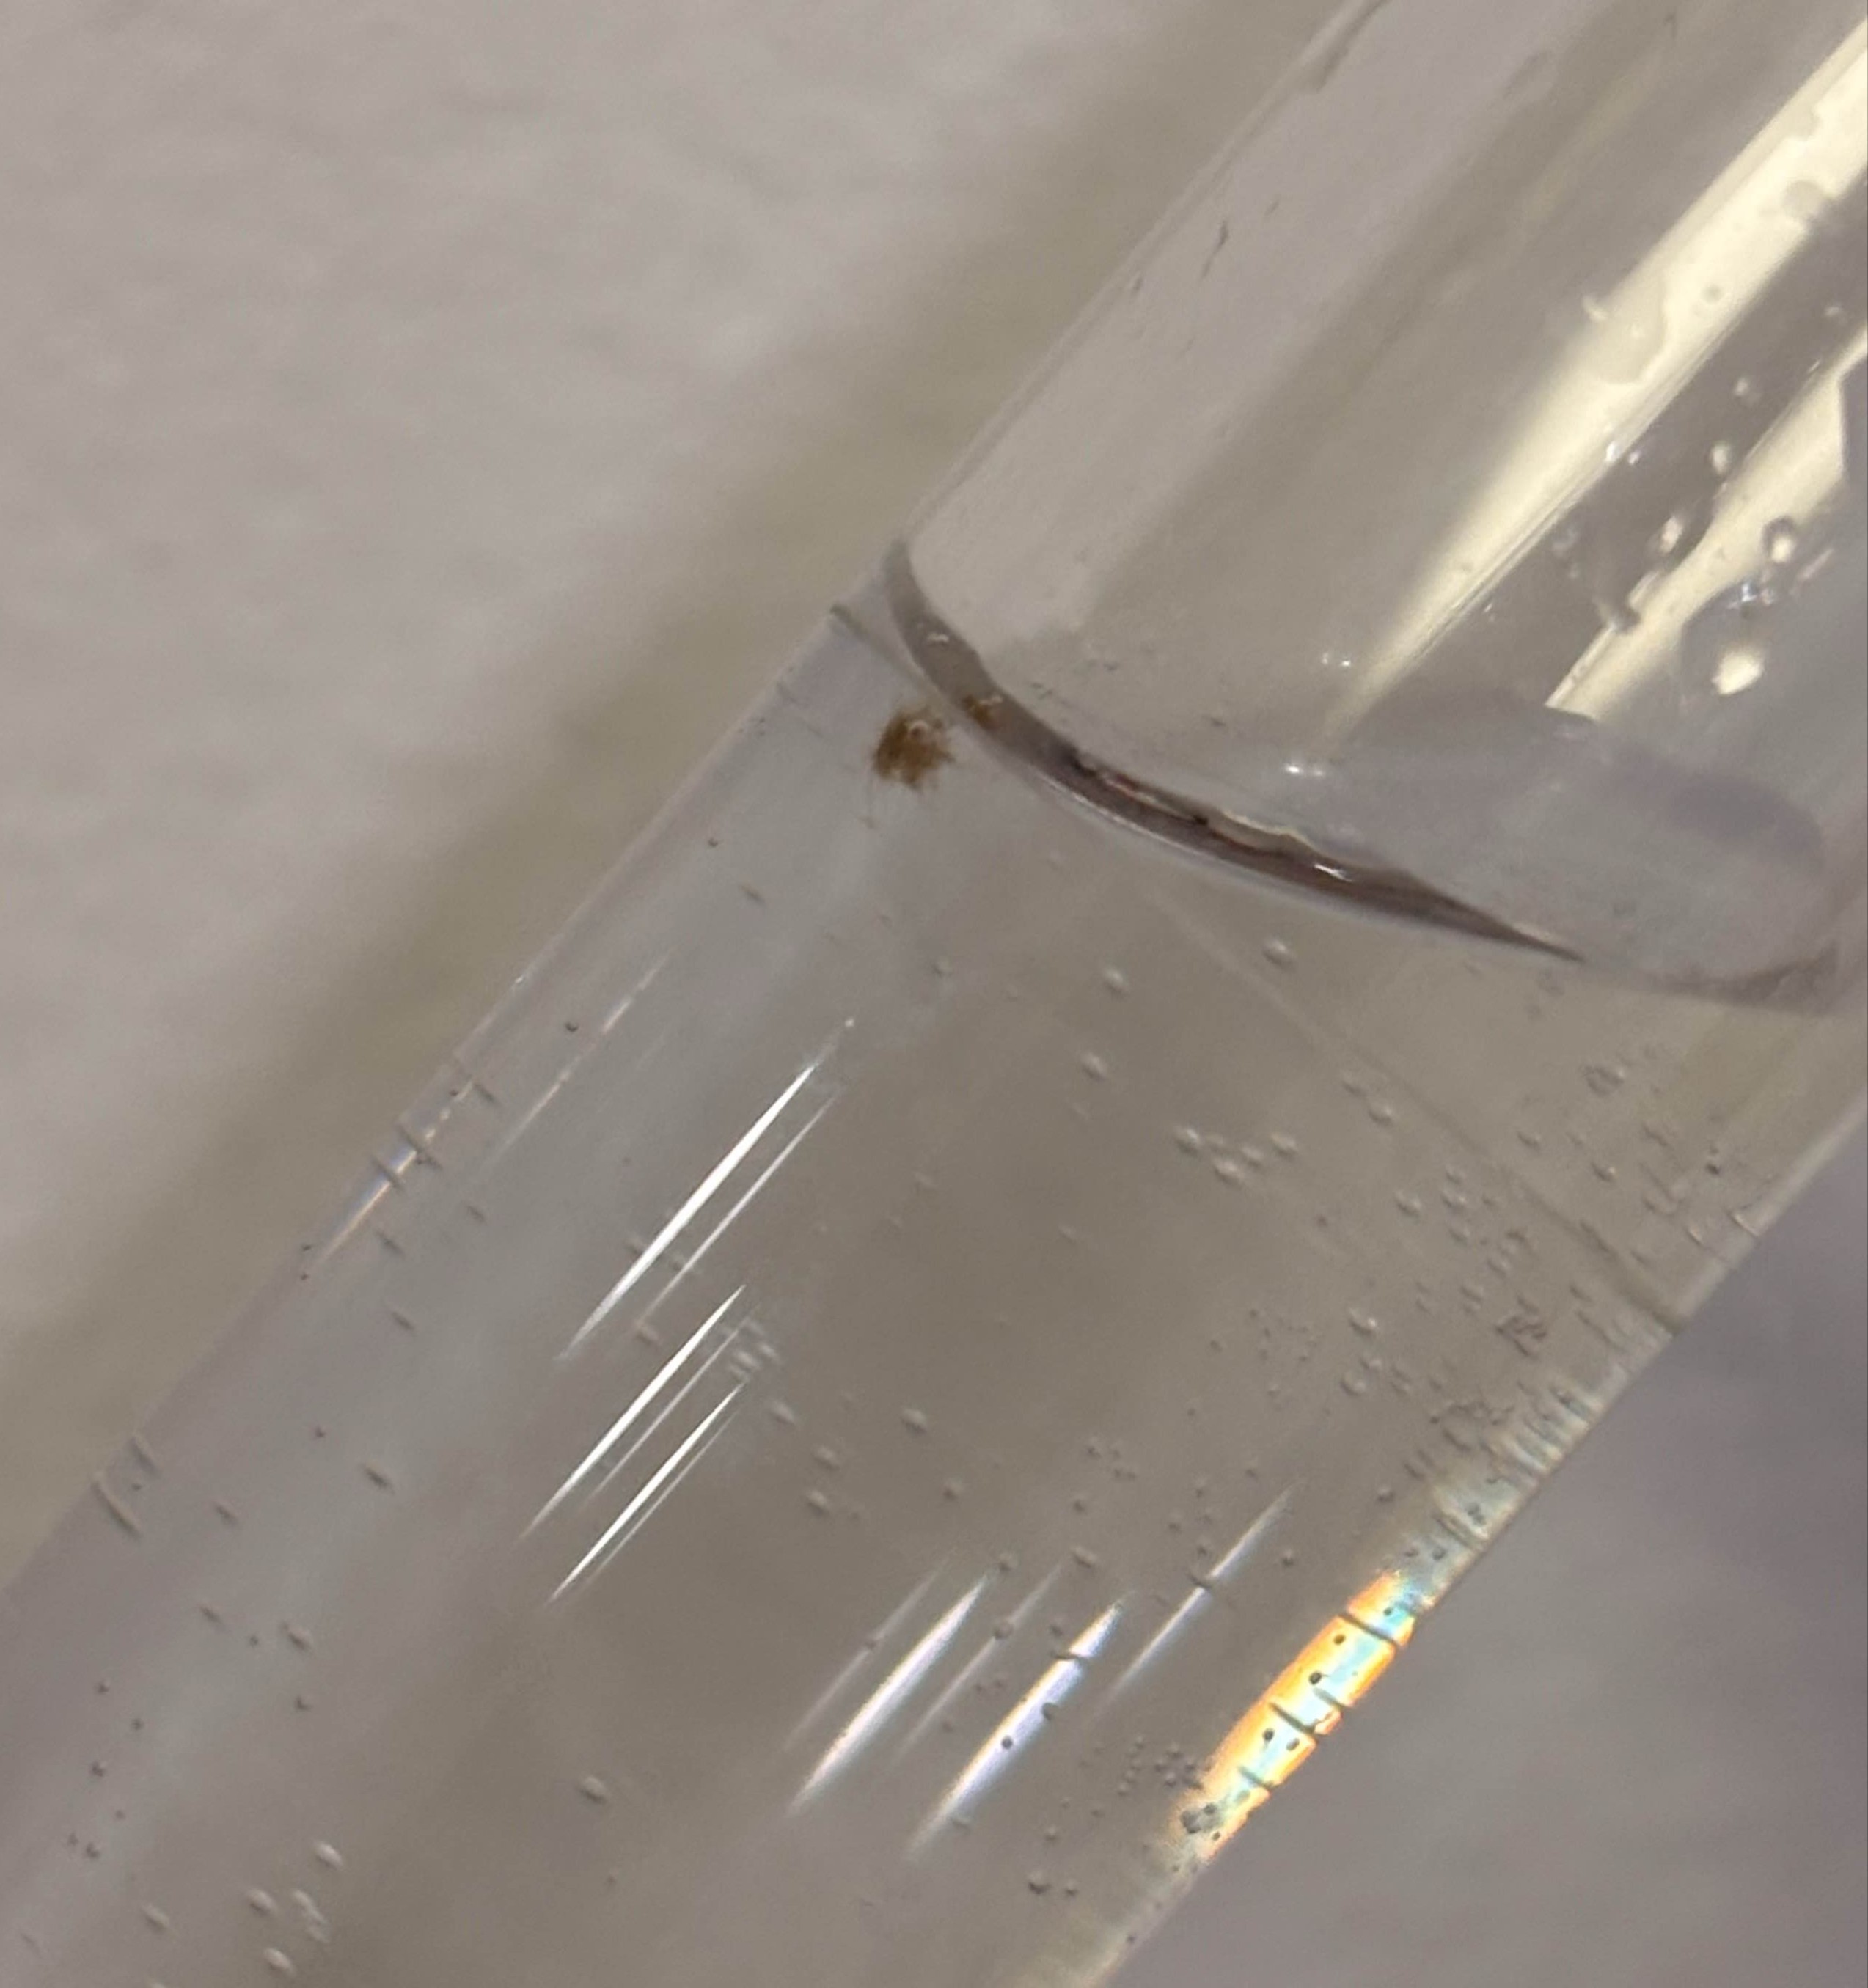
- Contamination: Haze in a solution that has been kept for a while may come from bacterial growth rather than from undissolved peptide. Contaminated stock spoils any work it is used in.
- Problems you cannot see: Looking at a vial will not tell you which peptide it holds or how much is in it. A product can look perfect and still be under-filled or mislabelled. Only analytical testing answers those questions.
Reducing the Risks
The steps below lower the chance of ending up with a poor batch.
- Buy from established makers: Start with suppliers that have a track record in the research community. That is a first filter, not a guarantee. Ignore unsolicited direct messages from strangers who want to sell you something.
- Read the certificate against the vial: A certificate of analysis (COA) should name the testing lab, give a test date and carry a batch or lot number that matches your vial. Look for an HPLC purity figure, an identity check such as mass spectrometry, and a measured content or mass fill. Some certificates also report water content or pH. A certificate only describes the batch that was tested, so a missing or mismatched lot number is a warning sign.
- Test independently: Neither a visual check nor a supplier certificate can prove identity, purity or mass fill. Sending your own sample for a third-party (3P) test is how you check them. Our Testing 101 guide explains which tests to consider and when.
- Inspect every vial: Look at the solid before you use it and at any solution you prepare from it. Gel, haze or particles all mean the material should be discarded.
- Store it correctly: Keep freeze-dried peptides cold, dry and out of direct light. Leave them sealed and in solid form until needed, because peptides degrade faster once dissolved. For long-term storage, freezing at -20°C to -80°C (-4°F to -112°F) extends their shelf life (source).
Summary
Quality control matters at every stage. Choose suppliers with a record, check the certificate against the vial, have samples tested for purity and mass fill, look for signs of aggregation or contamination, and keep material cold and dry. Products listed on Peptide Trades are sold for laboratory research only.